GRimsby NEWBORN AND BABY STUDIO
...............................................................................................................................................
...............................................................................................................................................
.
.
.
.
boutique baby studio charming town of Grimsby
...............................................................................................................................................
...............................................................................................................................................
IN THE
.
.
.
.


DIY DOUBLE SIDED WOODEN FLOOR
Lately, I’ve had a lot of photographer ask me where I got my wooden floors. I made them myself !!
It’s super easy & quick. You can make your own floors too !
I absolutely LOVE my new double sided floors.
YOU WILL NEED:
( and HOME DEPOT has all of this 🙂 Or Im sure Lowes, Rona any home hardware store )
WOOD – We went to home depot and picked up 16 – 8 foot Pine planks
STAIN- Can be any colour of your choice – I used Varathane Premium Wood Stain In Kona & Walnut ( 2 kindS) Kona is really Dark tho
White Paint – you can choose any white Paint of your choice. I went with the Same paint I used for the studio which is more of a warmer tone:)
Paint roller- Any size will do 🙂
Paint Tray
A rag – Used for staining 🙂
Sponge – for getting tight spots or small brush
Now that you have all your supplies it’s go time !
I set up Outside ( If you’ve ever seen me paint you would know why ) LOL
Directions :
1. Line up all your wood
2. I started with the White paint first, so I painted one side be sure to get in all the nooks and crannies using either a small brush or sponge.
4.Let Dry, Once Dry flip these bad boys over It’s time for some stain !
5. Carefully open the can of stain using a rag dip in and coat the opposite side you have painted. and Repeat ( I used two coats)
I didnt actually like how dark it was at first so I ended up sending the board through the plainer and then re staining in a lighter Walnut Stain:)
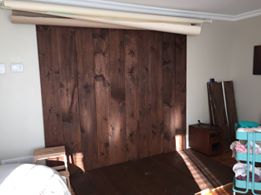
6. Once dry It is time to put them up ! I used a curtain rod to slide the wood behind, for me to be able to flip when needed
There you have it ! Easy as Pie LOL
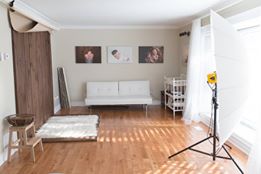
Now you have a beautiful DOUBLE SIDED new floor to photograph on ! You can keep your wood against the wall By putting up a curtain rod and placing the wood behind
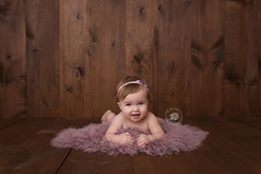
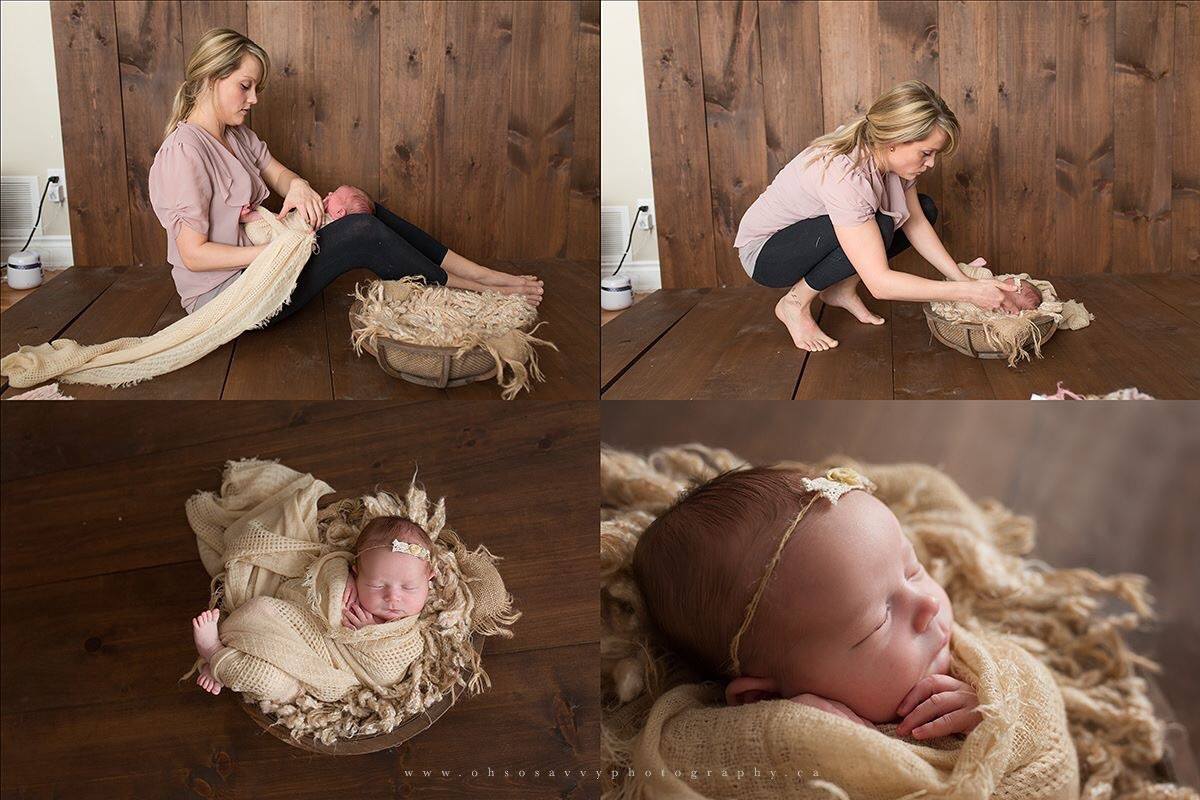
The Finished Product :


and an updated Version Of my Wall & floor 🙂
diy floor